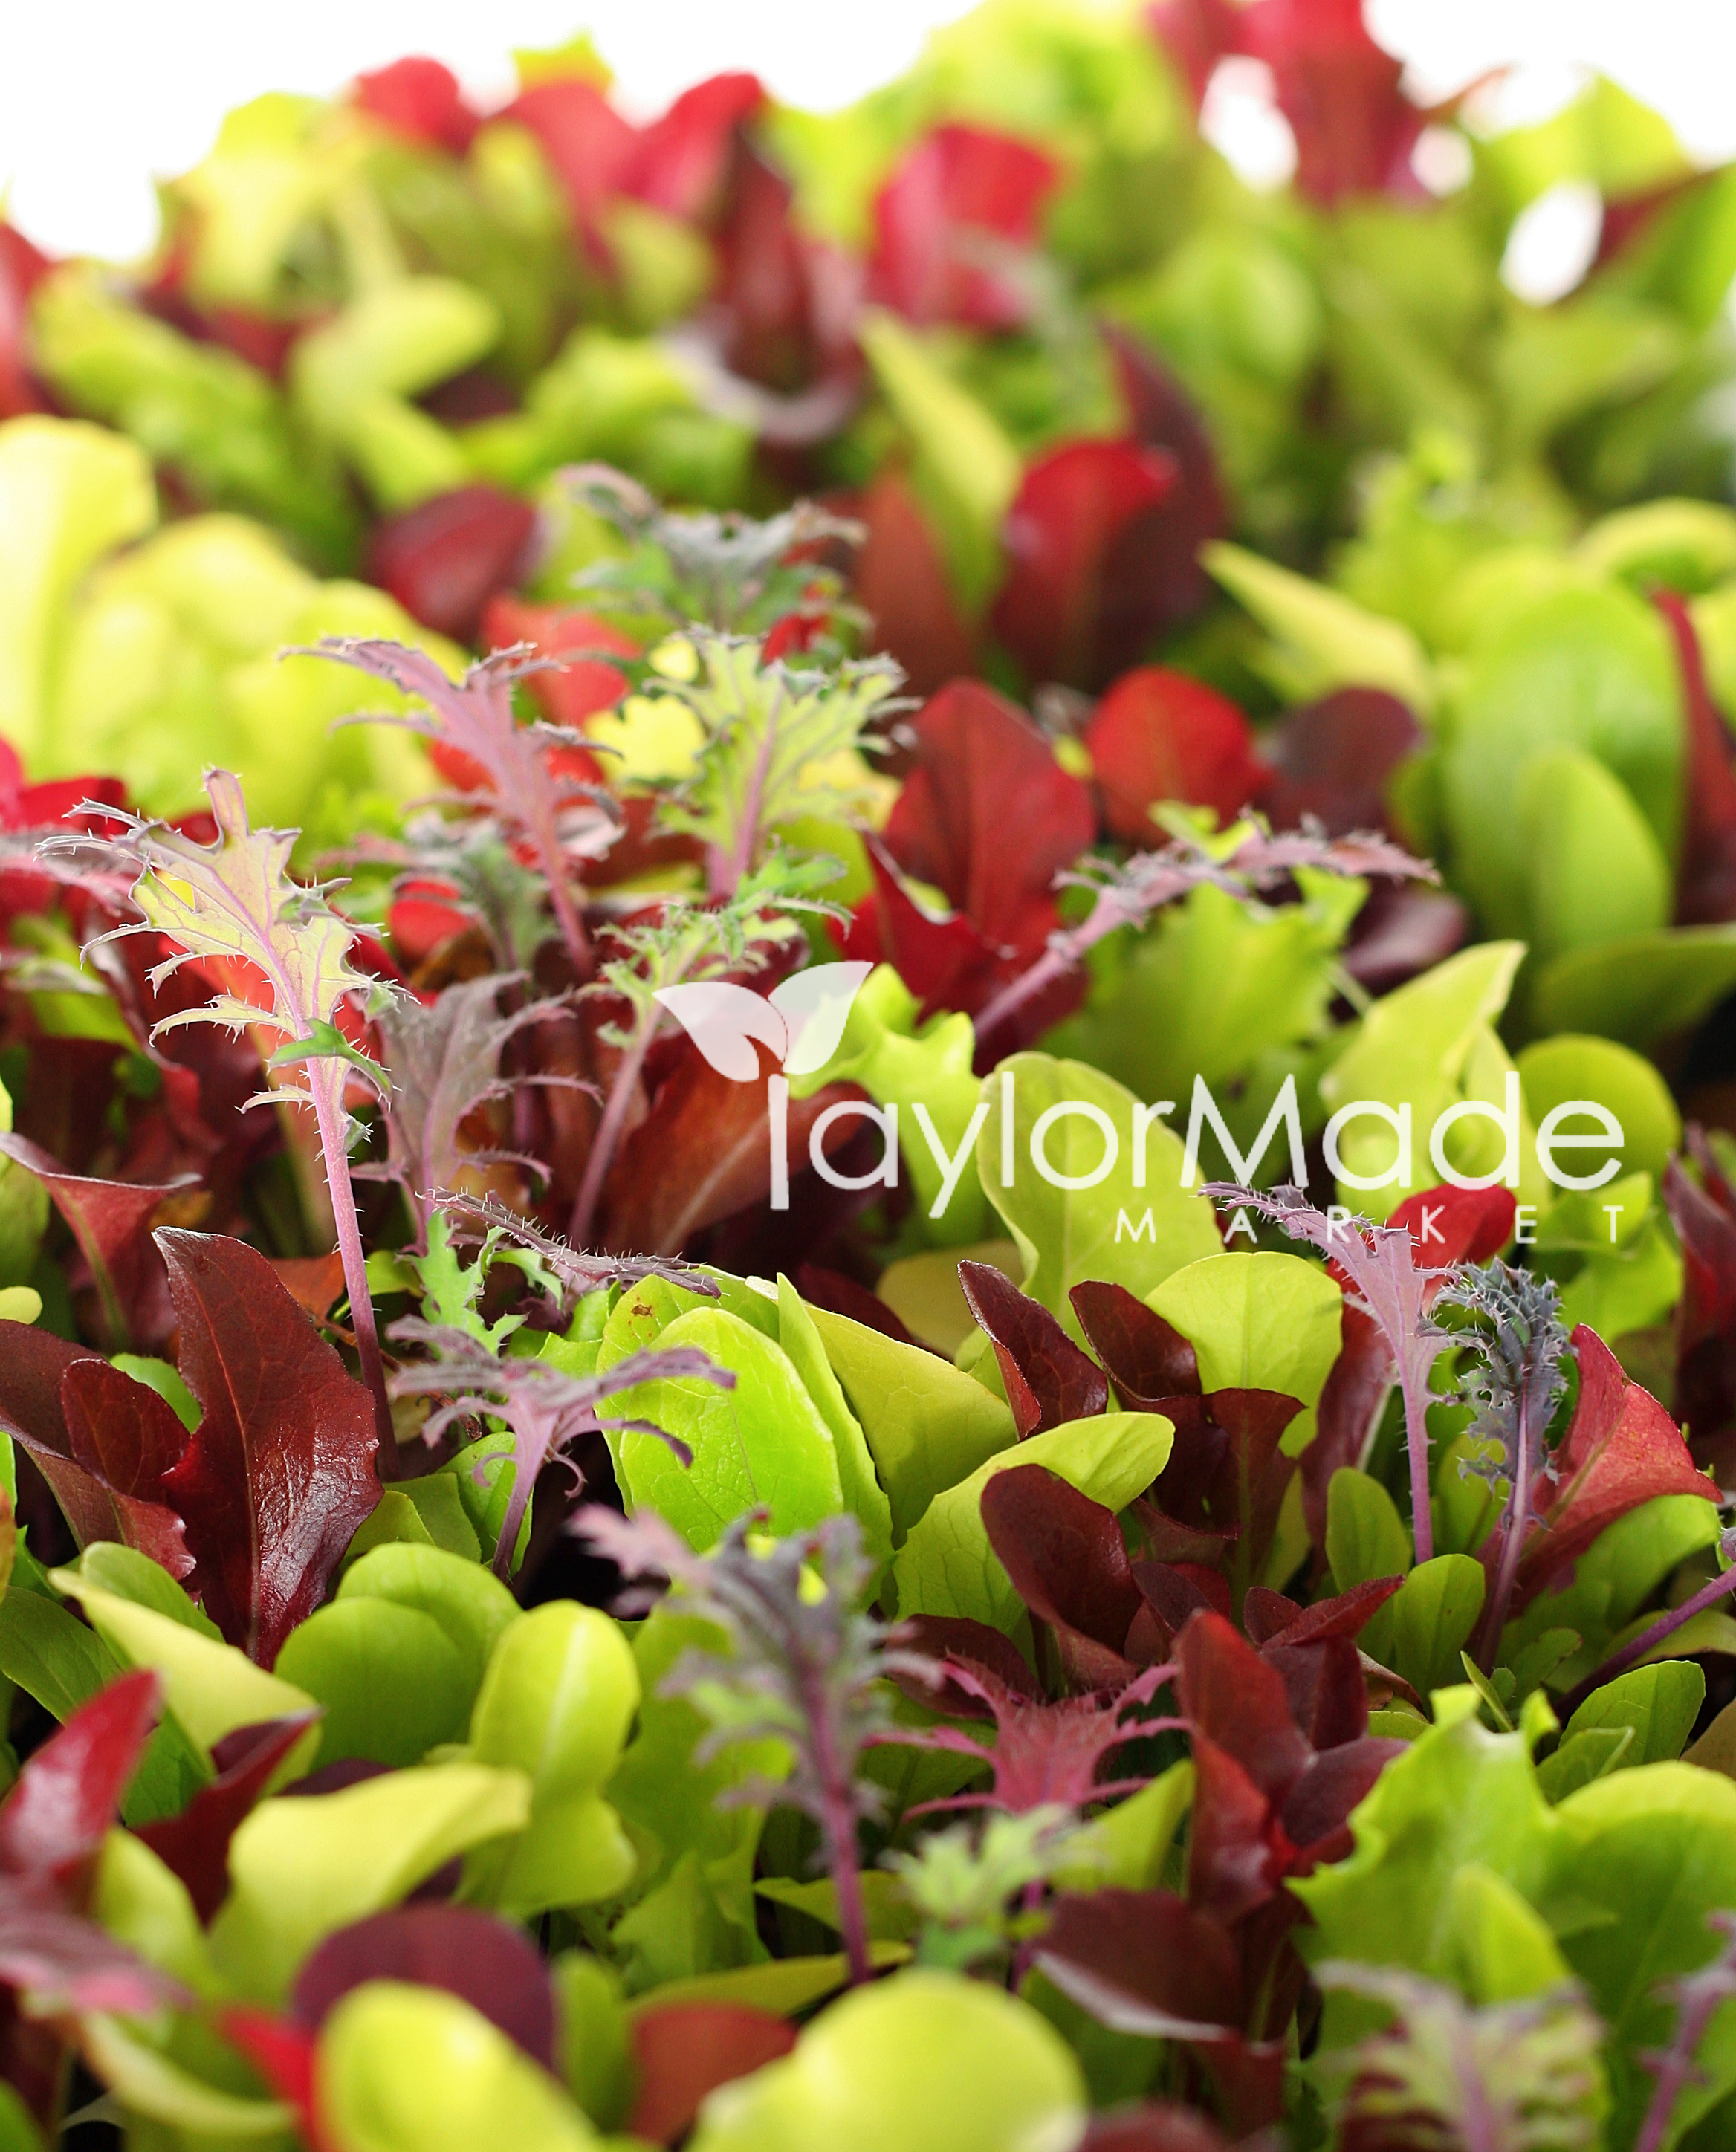
Microgreens – How to grow your own micro greens?
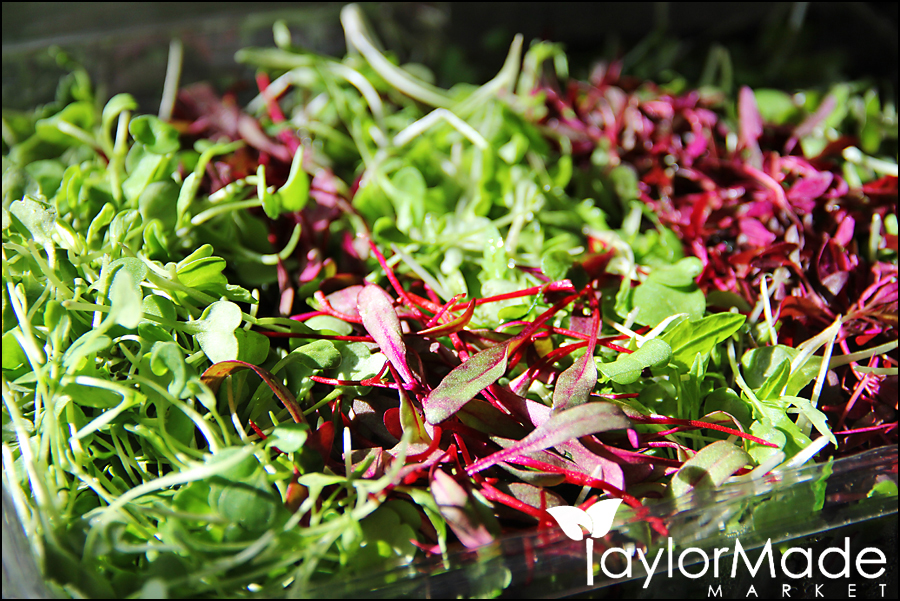
Look at these GORGEOUS Microgreens!!! It might be a Teeny Tiny plant but it is bursting with nutrients!!!
HOW TO GROW YOUR OWN?

Microgreens are popular with upscale restaurant chefs. Elegant and tasty little garnishes.
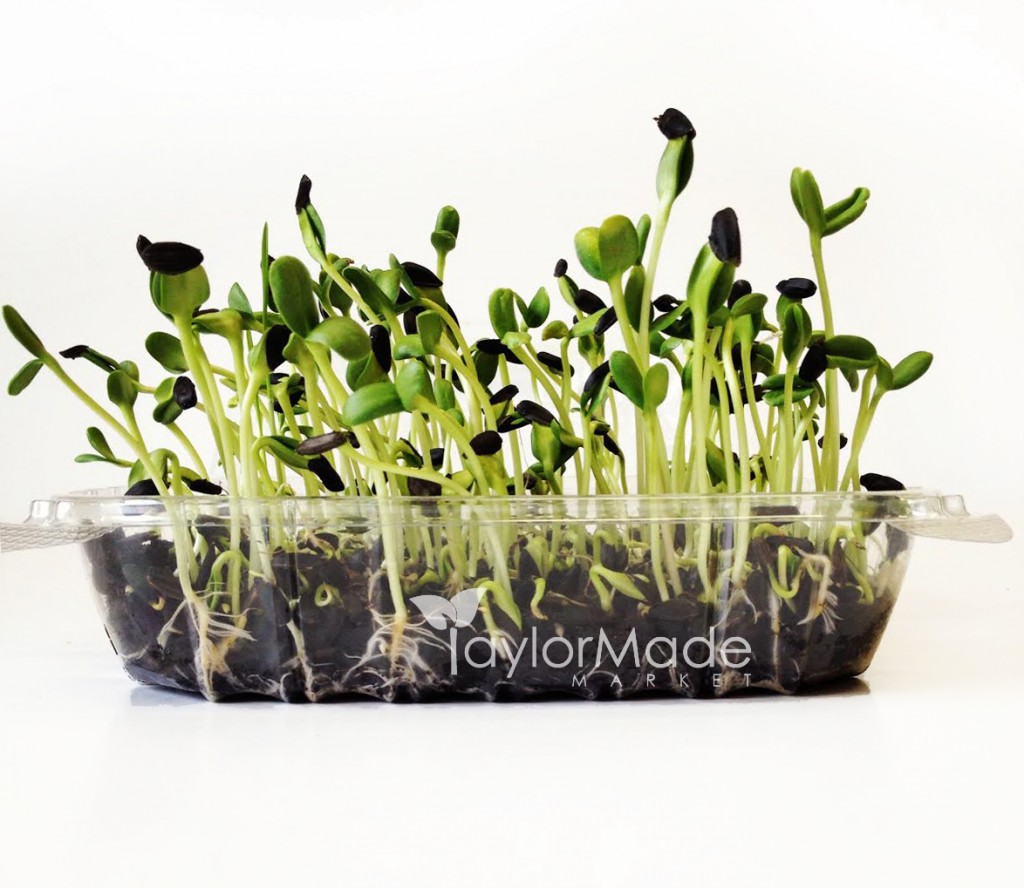
Microgreens can be a bit pricey… I found a 6oz package of sunflower shoots for $8.50 at wholefoods. Umm, You have got to be joking??? That’s like 1 salad worth… So, I’m standing there thinking, I could grow a full tray of these babies for a fraction of that price.
This is hands down the BEST Book I have ever read on Growing Microgreens.. If this blonde can do it, so can you..

I started growing microgreens when I lived in Tennessee during the winter…. When the outside looked like this…

I wanted the inside bursting with greens… Like this.. I was born & raised in Florida.. I missed the green….
It only takes a tiny bit of space, little bit of time and some patience
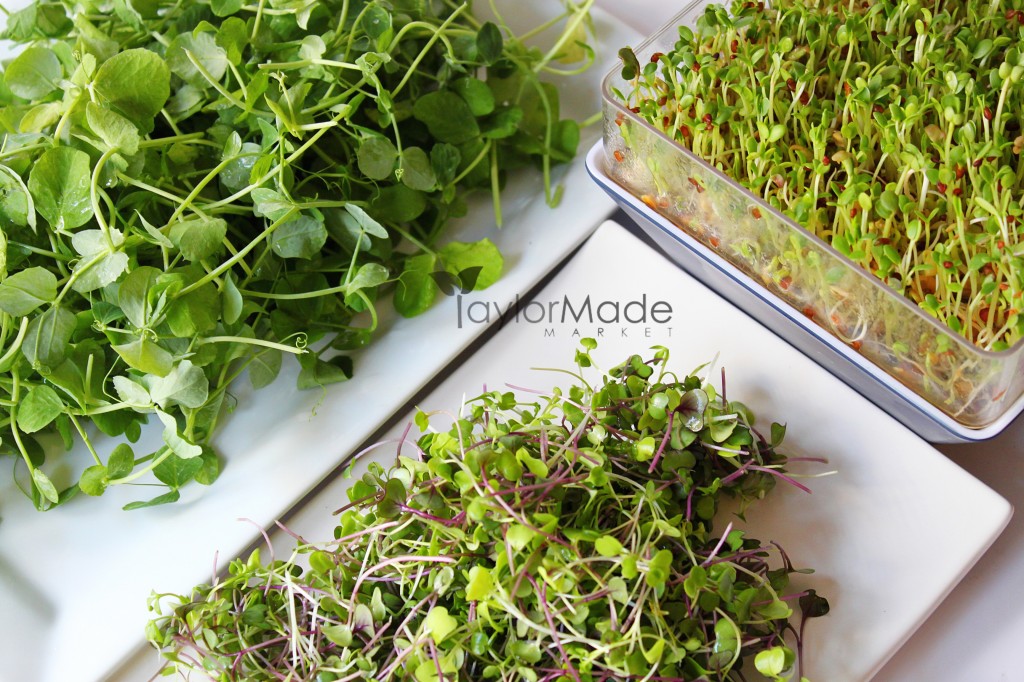
MicroGreens vs. Sprouts
After some research and talking to a MicroGreen Master, I learned that sprouts and microgreens are not the same.
Sprouts are seeds germinated in water just long enough (usually 48 hours or less) to grow roots, a stem and pale, underdeveloped leaves.
Microgreens, on the other hand, need to grow in soil and under direct light before you can harvest them.
Microgreens are the first true leaf stage – the baby – of growth to the full size plant.
Did you know???…
They are HIGHLY nutritious… Microgreens have 40 times more nutrients than the full size plant.
Pea shoots grown in darkness, Pea tendrils

TIP – delicate greens will not stay fresh after rinsing… So if you rinse them.. Use right away.

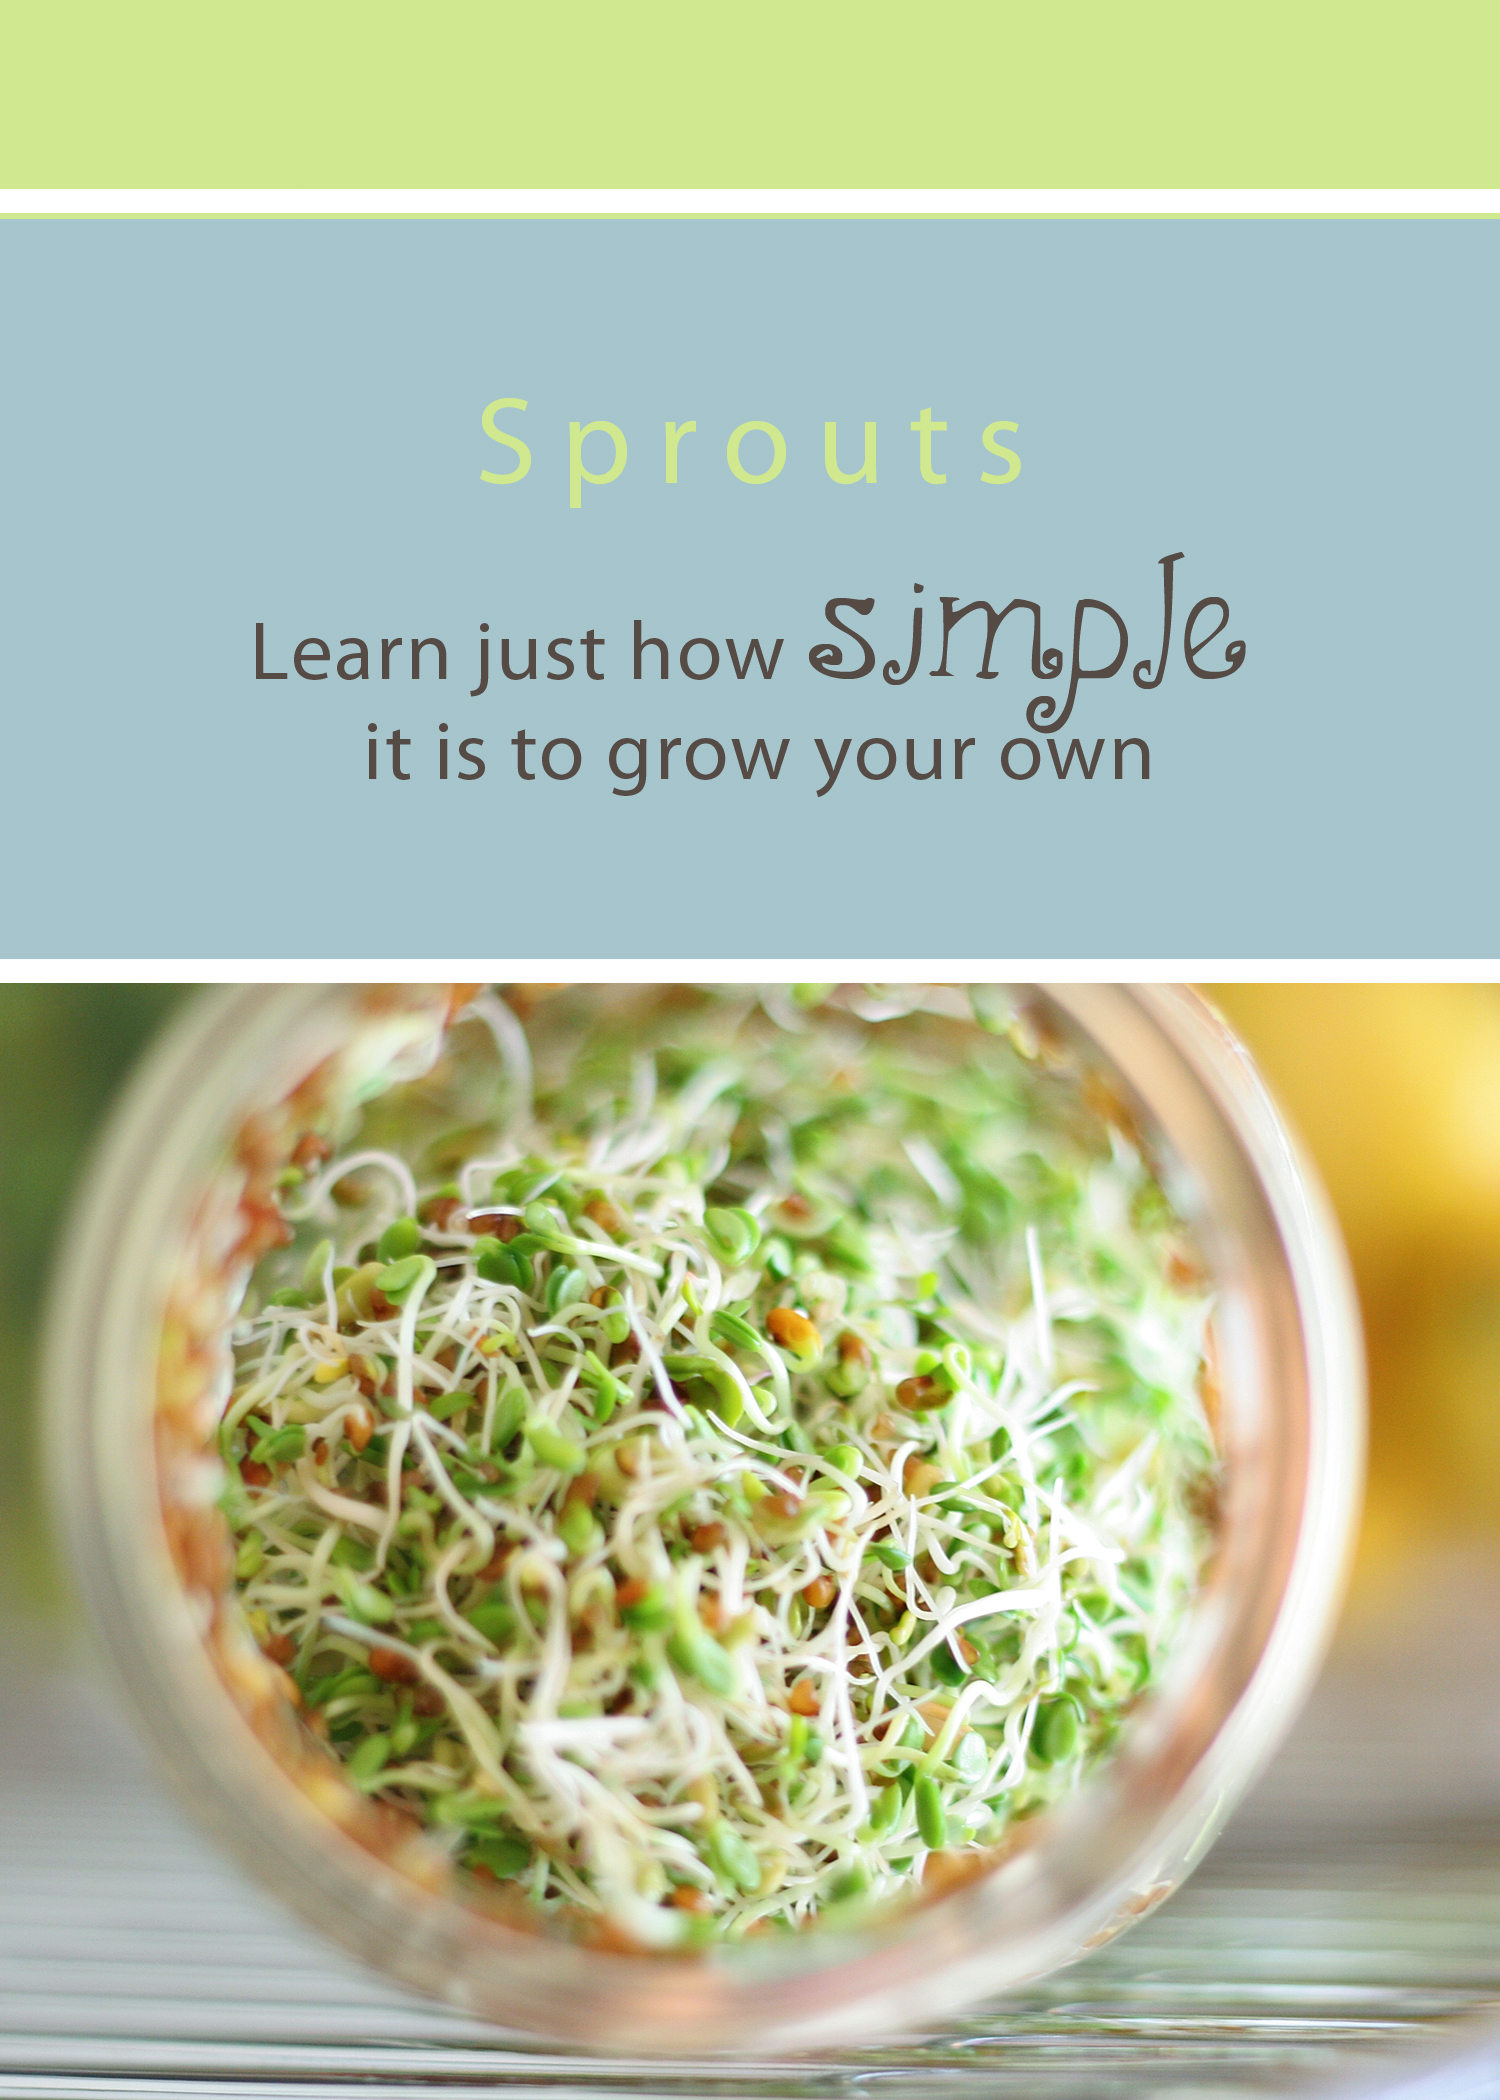
But what if you just want to grow your own microgreens??? It is SUPER easy.. A microgreen is the next stage after a “sprout” it just needs soil or some medium to grow in.
How to Grow Basil Microgreens at home?
Incorporating more greens into your diet is always a good idea. One way to maintain a continuous supply of fresh greens is to grow edible microgreens such as micro basil at home. Micro basil refers to the young and delicate basil seedlings at their early seedling stage. When added to salads and soups, these aromatic microgreens will make your guests’ taste buds take notice! If you’ve never grown basil microgreens before, be patient; compared to many other seeds, basil seeds take a relatively long time to germinate. The following paragraphs provide detailed instructions on how to germinate, sow, grow, and harvest your micro basil successfully indoors.
- You don’t need fancy equipment for growing micro basil indoors. All you need is a pot or container (a plastic take-out or deli container will work just fine), high-quality potting soil, water, and light. Of course, you also need hiqh-quality basil seeds (buy your seeds from a certified organic source). If you are new to growing basil microgreens indoors, purchase common Genovese basil, opal basil, or lemon basil seeds which are readily available and fairly easy to grow indoors.
- Fill the pot or take-out container with your favorite potting mix. Sprinkle basil seeds evenly on top of the potting mix. Cover them with a moist paper towel and place the pot or container in a warm (but not hot) location. Basil varieties — including common basil, lemon basil, and opal basil — require warmth for good germination. Be sure to keep the paper towel as well as the soil underneath moist until the basil seeds germinate. Compared to many other microgreens, basil takes a relatively long time to germinate, so be patient. Once your basil seeds have germinated, you can remove the paper towel.
- Next, move the pot or container to a sunny and warm indoor location and watch your micro basil grow. Basil seedlings will usually grow well near a south-facing window. During the darkest winter months, you may want to use a “grow light” as a supplemental source of light.
- Basil microgreens must be watered frequently because there’s not enough soil in the container to hold water for several days. The best time to give water to your basil microgreens is in the morning. This helps ensure the water is fully absorbed by the soil and roots. To water your indoor basil microgreen garden, use a hand-held spray bottle or a small watering can. If the container has drainage holes, you can also use bottom-watering (place a tray filled with water under the container; then let the soil absorb water through the drainage holes). Keep in mind that basil does not tolerate over-watering.
- You can harvest your basil microgreens when they are about 2 inches tall (they usually reach this size about 3 weeks after sowing). Basil microgreens are harvested by cutting the seedlings about 1/2 inch above the soil. After harvest, serve and eat your basil micro greens right away in order to make the most of their nutritional potential.
- Once you’ve eaten your basil microgreens, start a new microgreen crop. Sow new basil seeds or experiment with other microherbs and micro-veggies. You can grow sunflower shoots, snow pea shoots, baby Swiss chard, chervil microgreens, and purple and green orach microgreens with minimal effort at home.

It is easy to do. Worried about special tools, etc.. Don’t be! Microgreens can be grown in just about any container.. .. I have picked up FREE black containers at the hardware store that were being thrown in the trash, one picture is growing microgreens from a plastic bakery donut container.. I know right..
We have also used, grape tomato containers, plastic salad containers, strawberry containers or any plastic container that produce comes in that you typically throw away or hopefully recycle..

It really is simple to do.

use ANY container…

and grow beautiful microgreens
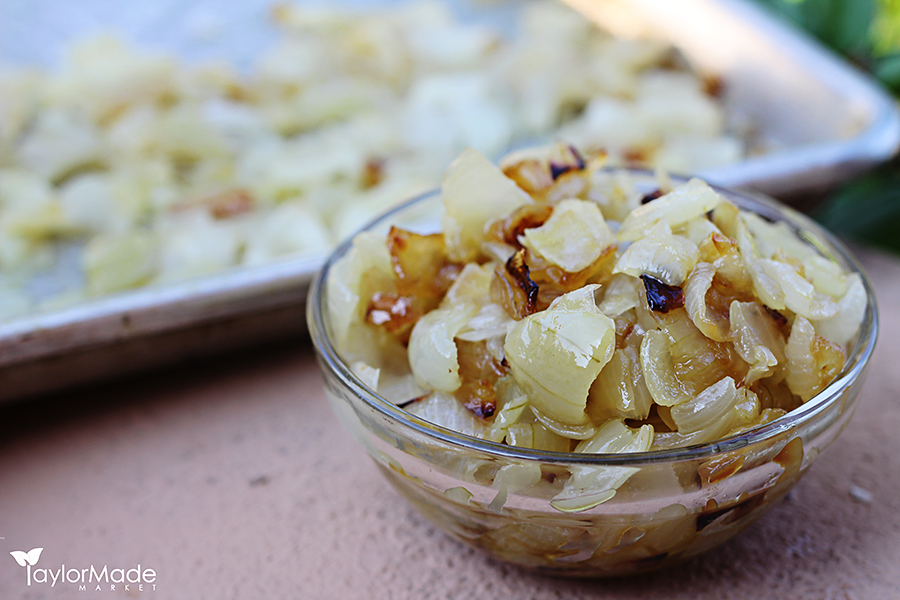
Use the beautiful greens as a salad, on a sandwich or a garnish for soup and other recipes
Growing your own microgreens is also a great project for kids. Watch your children get excited and take pride in caring for the baby greens as well as gain appreciation for where their food comes from.
Here is the book that started my microgreen obsession….

One Comment